|
Back in the early 60's while still living in western Pennsylvania I discovered that one was not able to purchase good tasting sauerkraut
as I remember my grandma cooking with spare ribs and dumplings. As I tried various brands, some in cans, some in plastic jars and some
packaged and frozen I was unable to find any with that good old taste as most of what was then available had all kinds of ingredients to
prevent spoilage or to enhance flavor (or so the labels said). About that time I met a German lady whose name escapes me now who explained to me how easy it was to make good tasting natural sauerkraut with no foreign ingredients added. The following is what she taught me to do: In the fall of the year when the overnight temperature drops into the 30's or 40's select a quantity of fresh cabbage and cut into quarters and remove and discard cores and slice on an old fashioned slaw cutter (or other device) and spread shredded cabbage into a 5 gallon (or other size) earthen crock and spead non- iodized salt over the cabbage and stomp down vigorously with a potato masher or other tool to start the brine to flow. If I can't find cabbage here on the mountain I go to the Birmingham Farmer's Market as I have found their wholesale docks to be a good source for cabbage. One box or bag (about 50 pounds) makes about 5 gallons of shredded cabbage. I shred and measure 5 pounds of shredded cabbage and mix it with 2 ounces of non-iodized salt (about 1/4 cup) and then place the mixture into the crock and tamp it down with a potato masher. The brine should then start to flow if cabbage is not too dry. I repeat this until crock is full to within 2-3 inches of the top. When the crock is full I make sure that mixture is covered with brine. Sometimes I will add water if the cabbage is very dry and the brine does not cover the shredded cabbage. Then I place a clean kitchen towel and a dinner plate over mixture and weight it all down with a gallon milk jug filled with water. The mixture must be covered with brine at all times during fermentation process. As the process works, foam will appear on top and I just remove the towel, plate and jug occasionally, clean them, and place them back on top of the mixture. Depending on the temperature kraut should be ready in about a month. I keep my crocks in the garage so as to keep them cool and let it age as slow as possible. Cooler temperatures will slow the fermentation process down. Sauerkraut that ferments too fast just doesn't taste as good. When the kraut is ready I start to use it right out of the crock until the weather gets warmer and then I bag up and freeze the rest. The main thing to remember is 2 ounces of salt to 5 pounds of shredded cabbage. You will note that the mixture will be saltier at the bottom and as you use it you may want to rinse it off under the faucet to suit your own taste. I usually make several crocks each year and share it with my friends. (You must remember that not all folks care for sauerkraut regardless of whether bought or made - either you like it or you don't.) Reuben sandwiches made with good kraut, rye bread and cheese are hard to beat. Sometimes when we are going to be gone for the day we put an amount of kraut into the crock pot, add a pork roast or corned beef on top along with peeled potatoes and let it slow cook while we are gone. When we return home our dinner is ready and we just serve with applesauce and really believe we got the world by the tail! How simple and yum yum ! |
And so it was until the Fall of 2007, when after supervising me and a group of my friends making 70 (yes 70!) gallons of sauerkraut, that he noted that the time had come for me to take over the yearly ritual. He, after all, was 80 and had been doing this for the past 50 years or so and thought it was about time to rest on his laurels. The sauerkraut making paraphenalia was passed to me and that was that. Unfortunately, in the Winter of 2007/2008, the weather didn't cooperate and no winter cabbage was available and, thus, no kraut was made. In the Winter of 2008/2009, the weather cooperated, cabbage was available, and my first stint at the head sauerkraut-meister was about to begin.
Here then is an account of what happened:
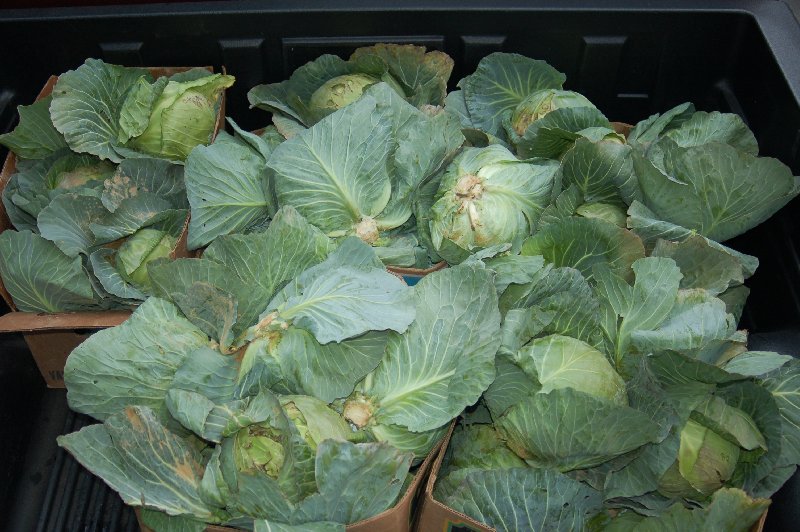
The first order of business was to find some cabbage. The farmer that my Dad and I had bought 110 heads of cabbage from in 2007 had planted his cabbage late and didn't have any large enough to sell. But he gave us the name of another farmer in rural Blount County whom he thought might have some available. We called and they did. On an extremely foggy Saturday (January 10, 2009) we creeped down rural Blount County roads at 15 Mph, hoping that no one would hit us from behind. We didn't have far to go, the farmer told us, only a mile or two. Five miles later (!!!), the dim outlines of the signpost marking his driveway came into view. A few minutes later, 50 heads of cabbage were loaded into the back of my truck. We paid $1 per head for them. We could have bought larger ones, but his wife had taken them into the Farmer's market that day.
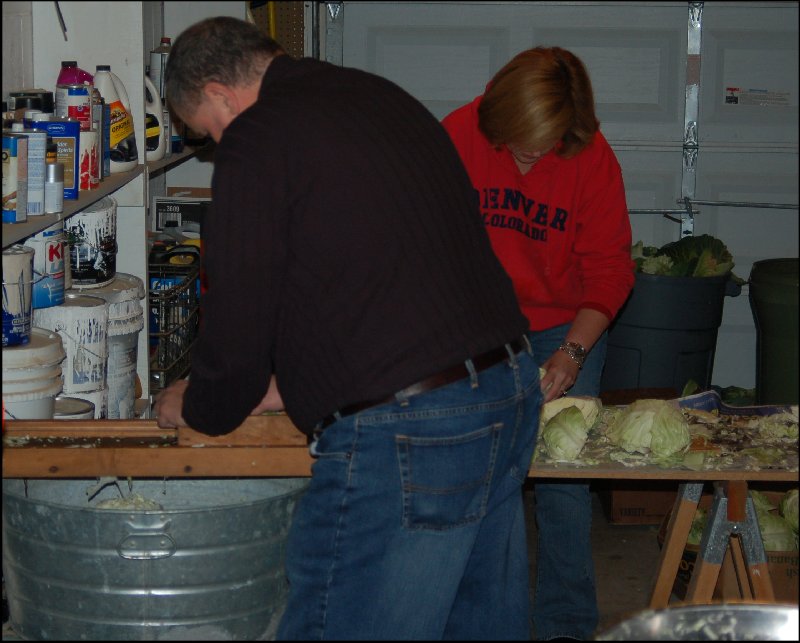
Next, the cabbage had to be stripped (shucked) of their outer leaves and any portions that had dirt, rot, or insect damage discarded. A messy job.

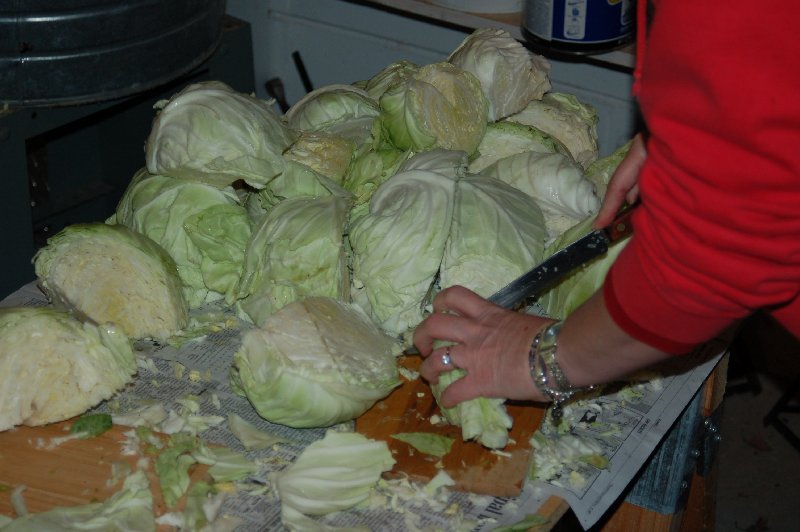
Next, the cabbage had to be prepped for the shredder. This meant cutting each head into halves and then making a V-shaped notch at the base to cut out the stem (heart) of the head. Some of the bigger heads had to be cut into quarters to fit into the shredder.
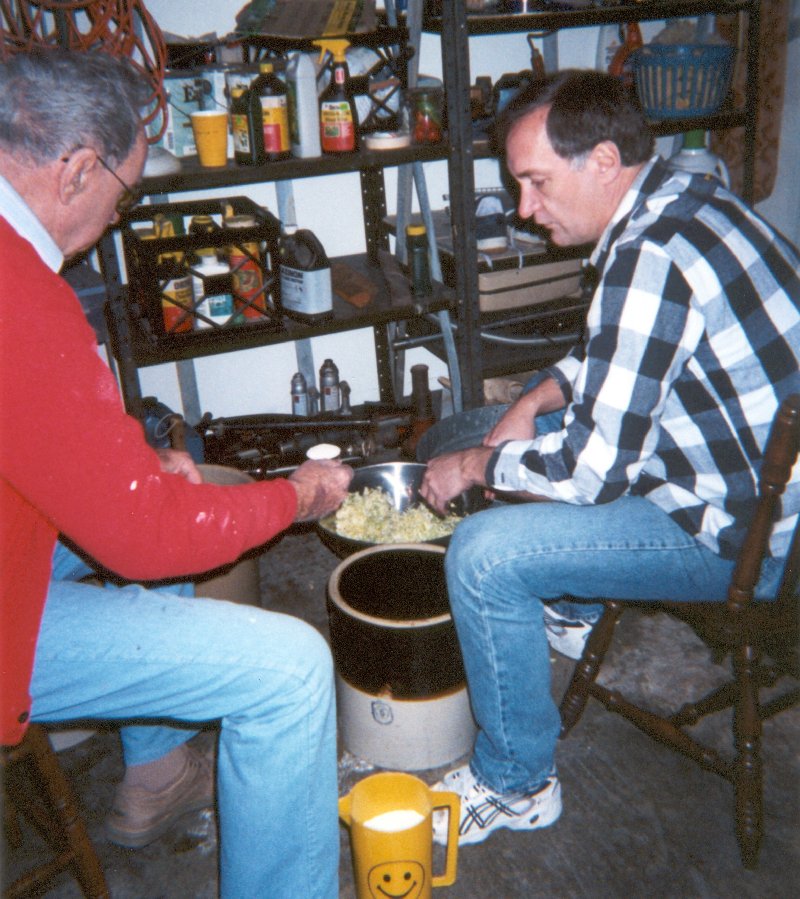
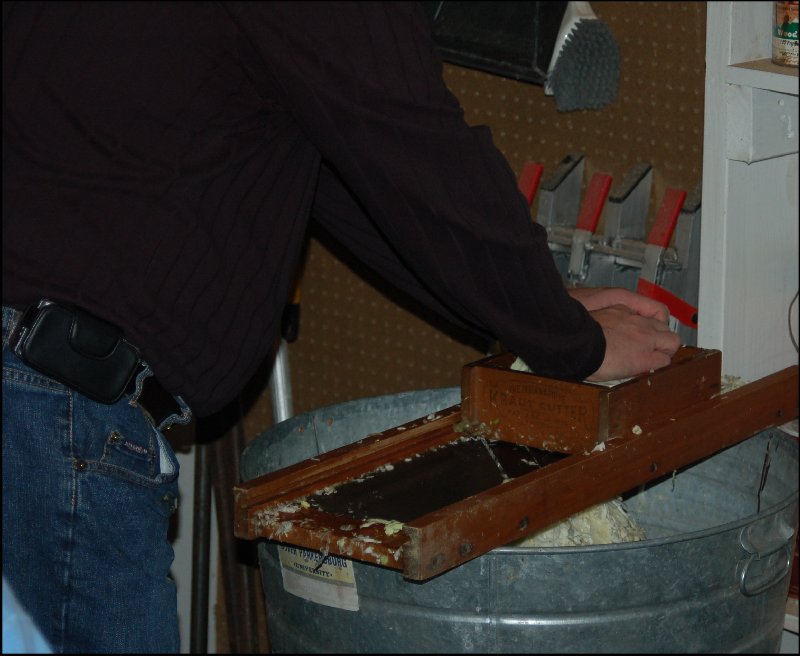
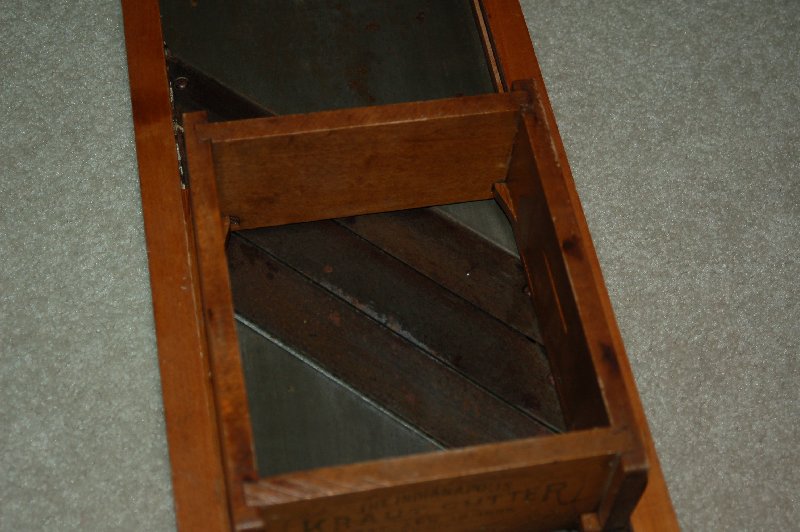
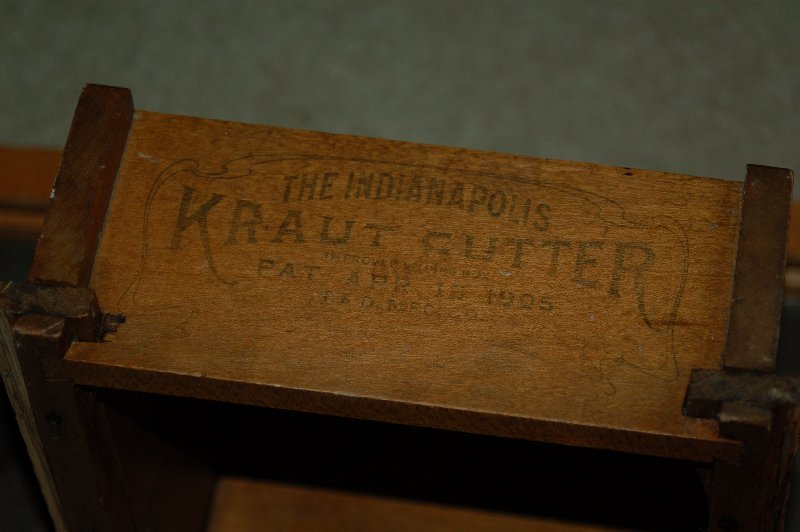
Next, the cabbage head halves (or quarters) were placed in the shredder (Kraut Cutter) and were shredded into thin strips about 1/4 inch wide and collected in a large tub. The Kraut Cutter was an antique that my Dad had purchased many years ago and is strained dark with the juice of hundreds of cabbages over many years. Essentially, it is a bottomless wooden box fitted with rails that mates into a metal and wood assembly with three very sharp knives in the bottom of it. The box, with the cabbage in it, is passed back and forth over the knives to effect the desired shredding action.
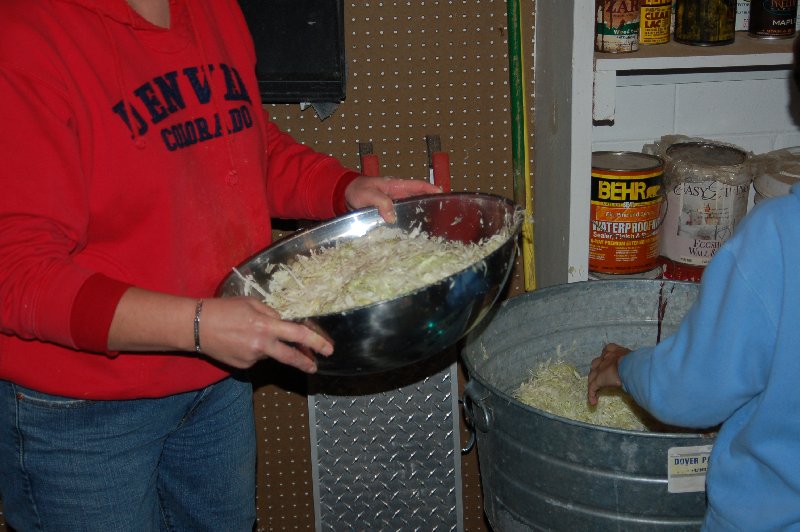
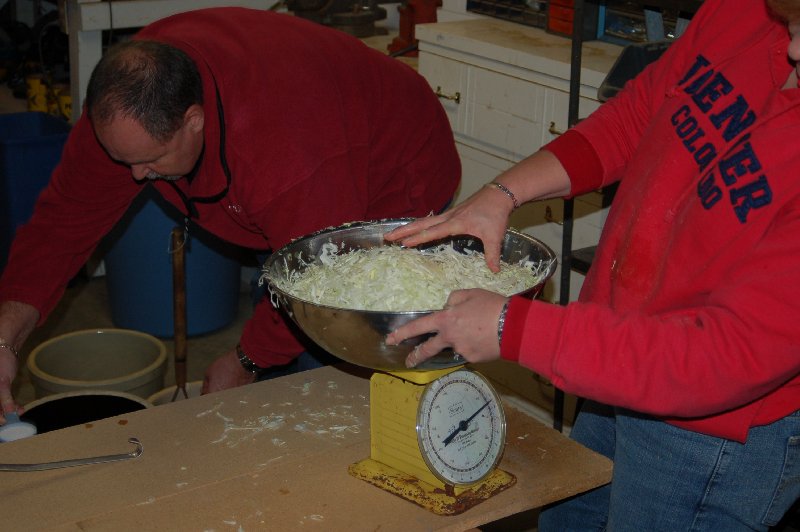
Next, the cabbage has to be weighed. This is done to get the porportions right - 5 pounds of shredded cabbage to 2 ounces (about 1/4 cup) of non-iodized salt. Note that salt without iodine is what the recipe calls for. Typically, this can be purchased at a farm supply store. This is the kind of salt that is fed to cattle. To do this efficiently, a smaller empty metal bowl is placed on a scale and the scale is zeroed out. Then, enough sliced cabbage is added until the scale indicates 5 pounds.
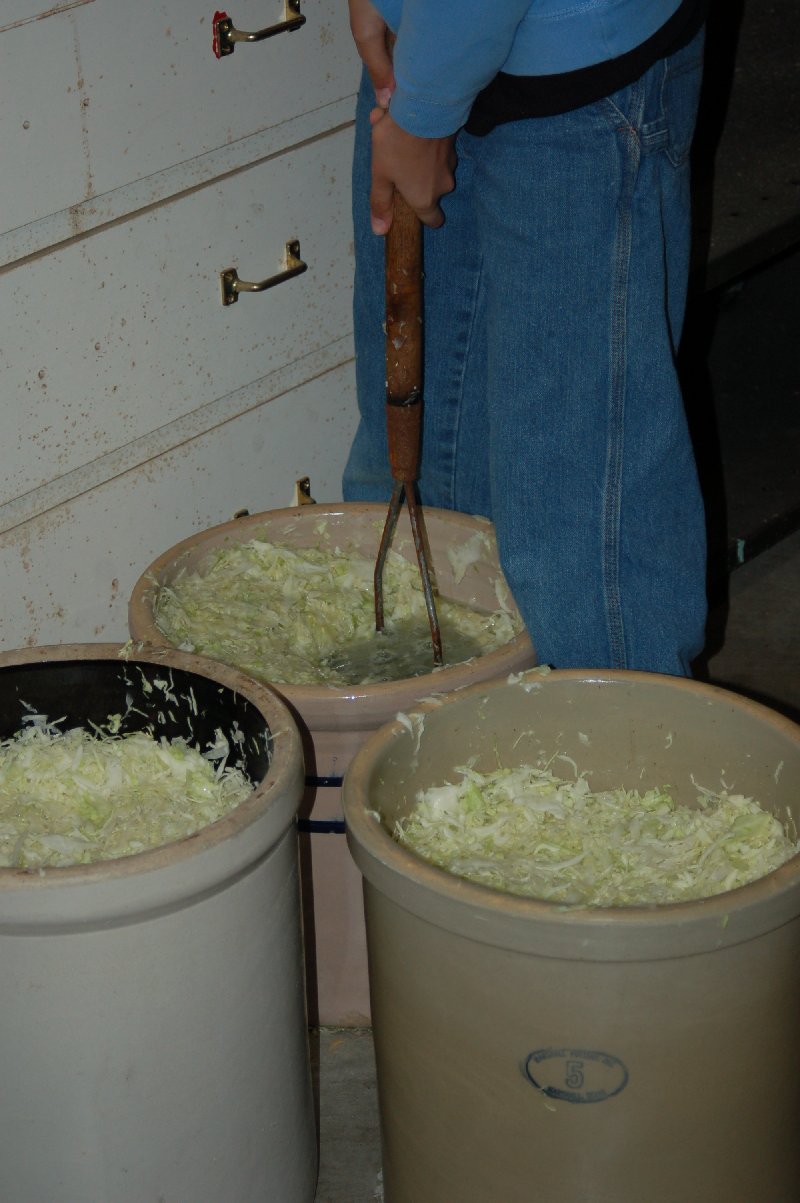
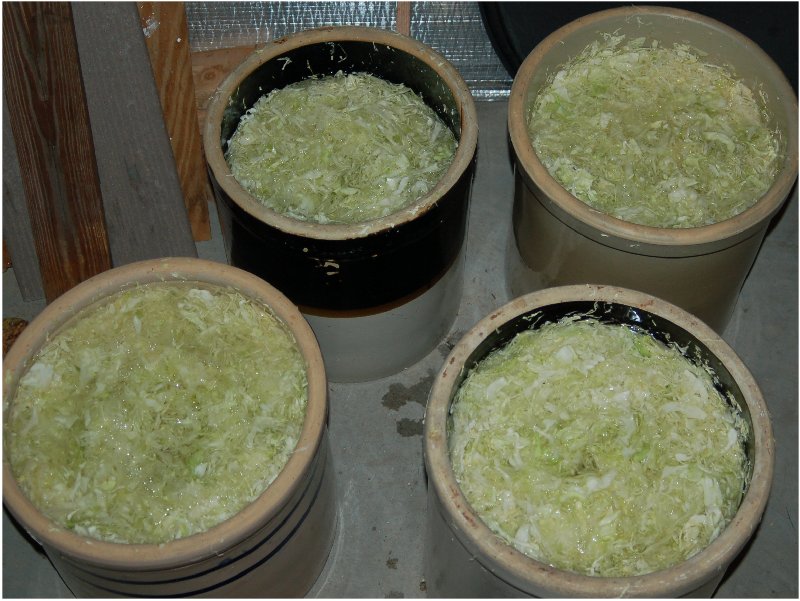
Next, the cabbage is placed in a medium sized earthware crock, which generally holds 5 or 6 gallons. Each 5 pound batch is tamped firmly down with an antique potato masher. Depending upon how dry the cabbages were when harvested, a brine may (or may not) start to form. Over time, the salt will start to draw the juice out of the shredded cabbage. The filling and tamping process will repeat several times until the tamped kraut somes up to within an inch or two of the top.
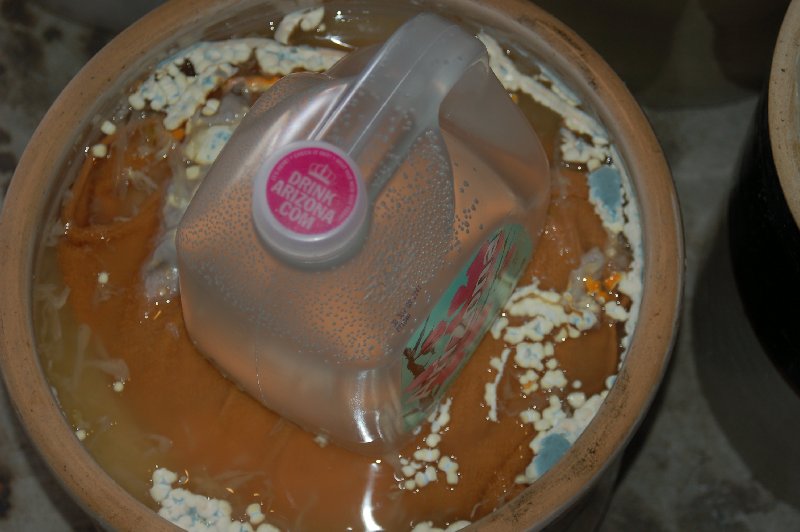
After the kraut has set for a while, say an hour, we'll come back and make sure that all of the shredded cabbage is under water. Note that sauerkraut is essentially fermented cabbage and fermentation takes place in the absence of oxygen. In the presence of oxygen, we don't get fermentation, but simply rot, so water is added to avoid rot.
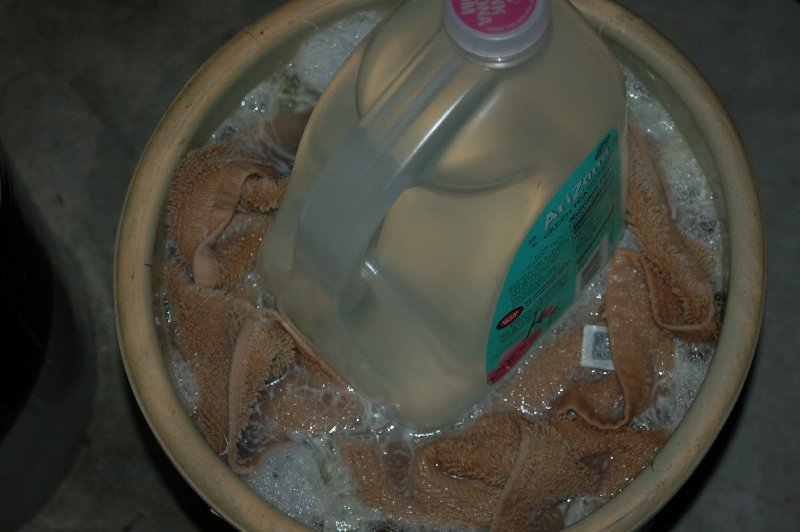
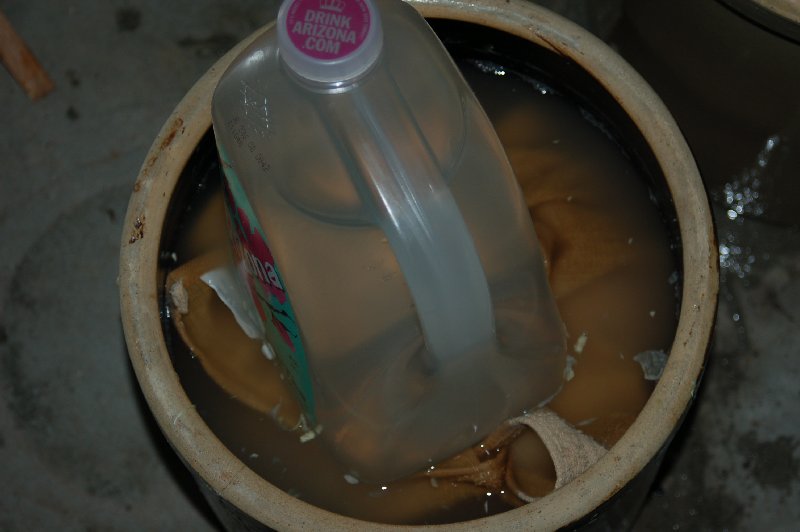
Now that the fresh kraut is under water, we need to make sure that it stays that way. To do this, we cover the fresh kraut with a towel and place a large plate over the towel. The plate is held down with a weight, typically a jug filled with water. At this point, most of the work is done. All that remains now is to let Mother Nature run it's course and ferment the cabbage, turning kraut (shredded cabbage) into sauerkraut (fermented cabbage). We do have to periodically check back on things to make sure that the kraut remains under water and skim off any mold that grows above the waterline. Ideally, the crocks are placed in a cool, dark area. The finished product will taste best when allowed to ferment slowly over several months of cool weather, hence that it why sauerkraut is made during winter.
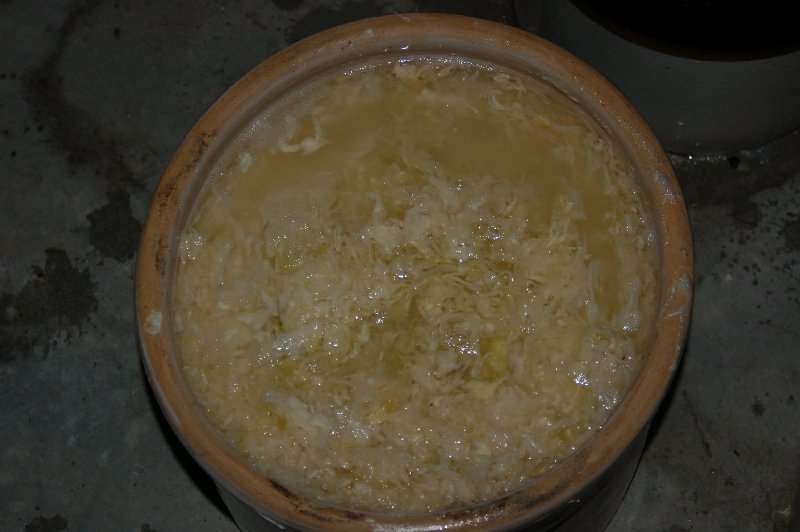
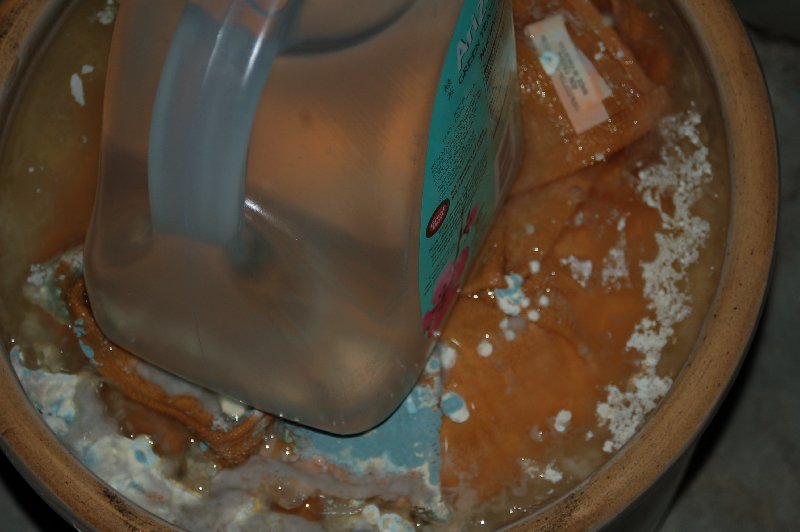
After two weeks of fermenting, the tops of the crocks were showing some foam and a little mold and giving off a sour odor, to it was time to clean them up. So, I took off the jugs, plates, and towels and scooped out the foam and mold. The towels were replaced and the crocks were repacked. After that was done, the basement smelled more like fermenting sauerkraut - the smell that I remember from my youth. I notice that the color is changing from green to a muted yellow and that the strands of shredded cabbage aren't as stiff as before. The metamorphosis from shredded cabbage to sauerkraut is working!
After four weeks of fermenting, the tops of the crocks were showing some significant mold, all since the week 2 cleaning. So, after cleaning them out, my Dad came by and tasted the kraut and pronounced them ready. All we had to do now was get a few people together and transfer the kraut into plastic freezer bags to make it handy to distribute.
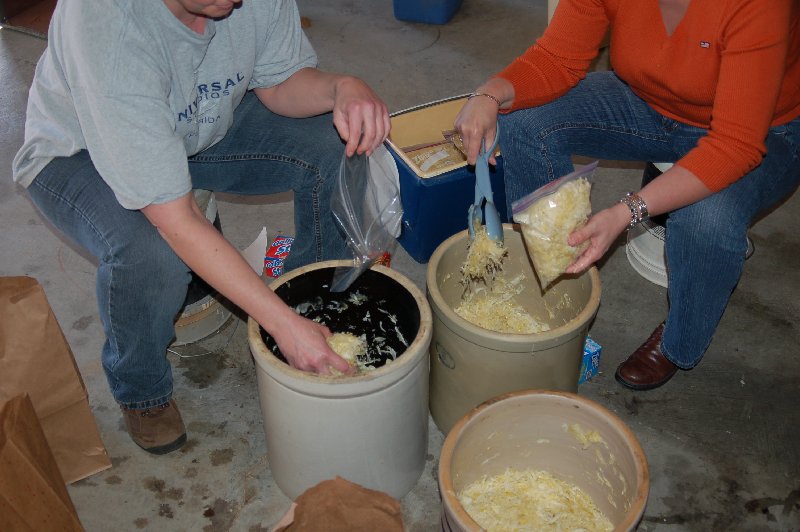
At the end of the week, after being tasted and pronounced ready, the time has come to harvest the sauerkraut. Basically, it means getting a few folks together to get the sauerkraut out of the crocks and into some plastic pags. We used both gallon and quart sized bags, placing approximately one quart into each bag. They were then mashed flat and had the excess air squeezed out of them. This helped them to lie flat in the freezer, where they should keep well for about a year.